Destroy a File System
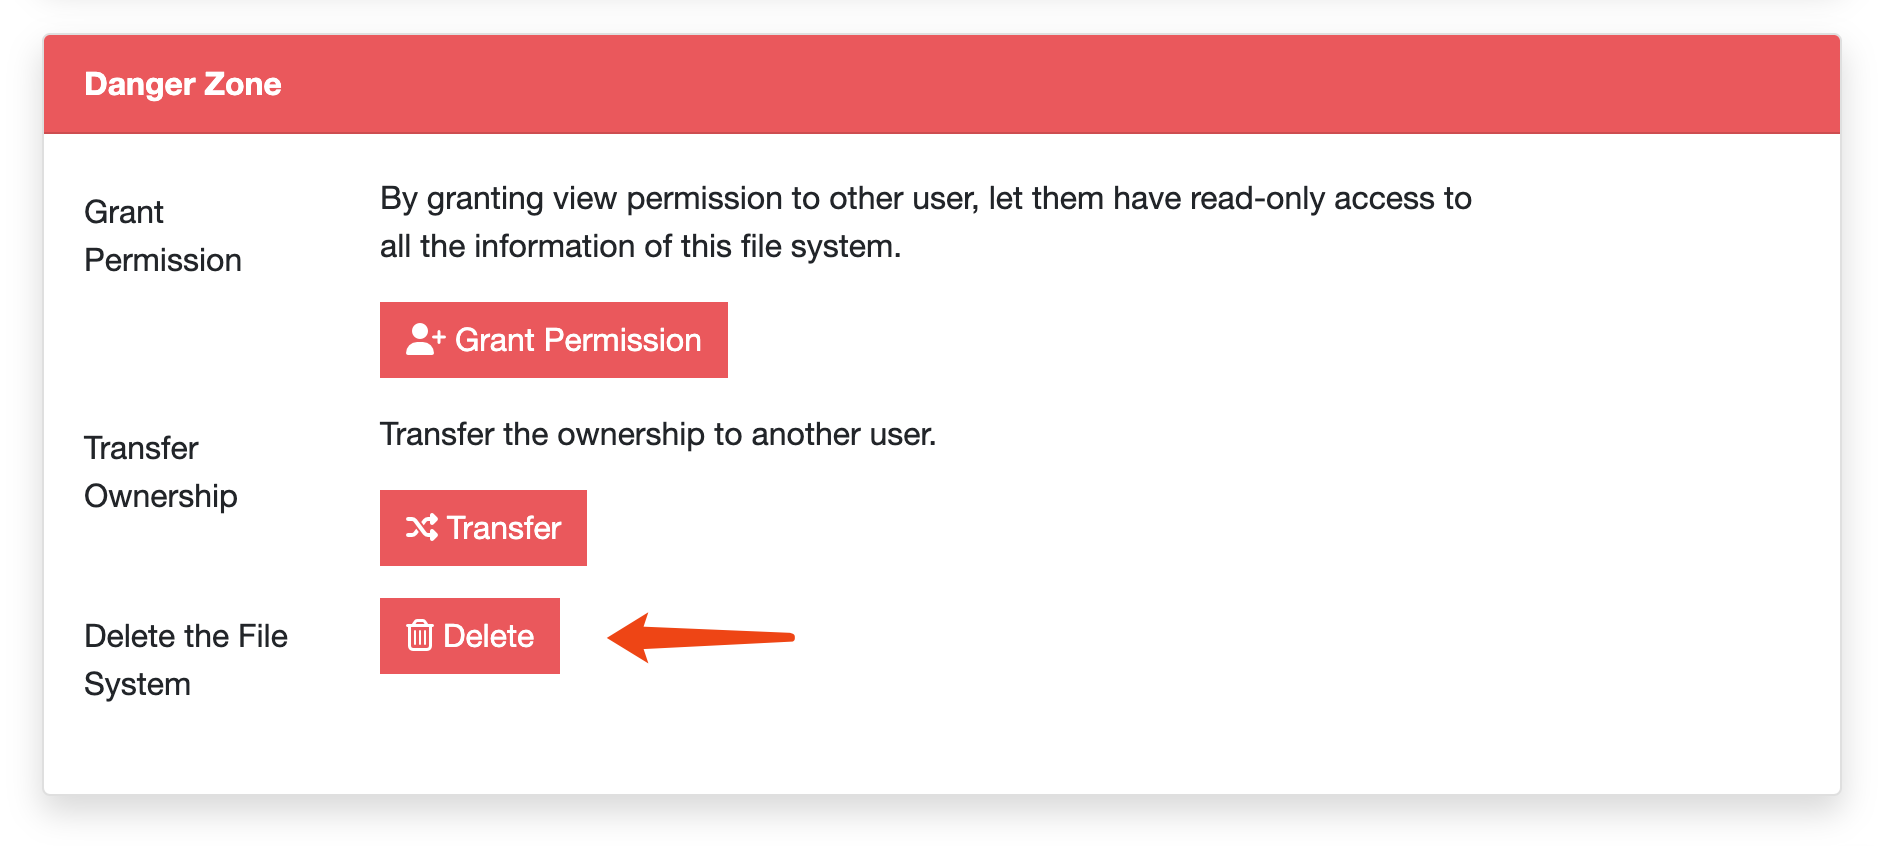
To destroy a file system, you need to access the JuiceFS Cloud Service console, find the corresponding file system, and click Delete at the bottom of the Settings tab to perform the destroy operation.
- Irreversible operation: Destroying a file system will permanently delete all data within it and cannot be recovered.
- Data backup: Before destroying a file system, ensure that the data in the file system has been properly backed up.
- No business dependency: Before destroying a file system, you must ensure that no related business is still using the file system.
Guide
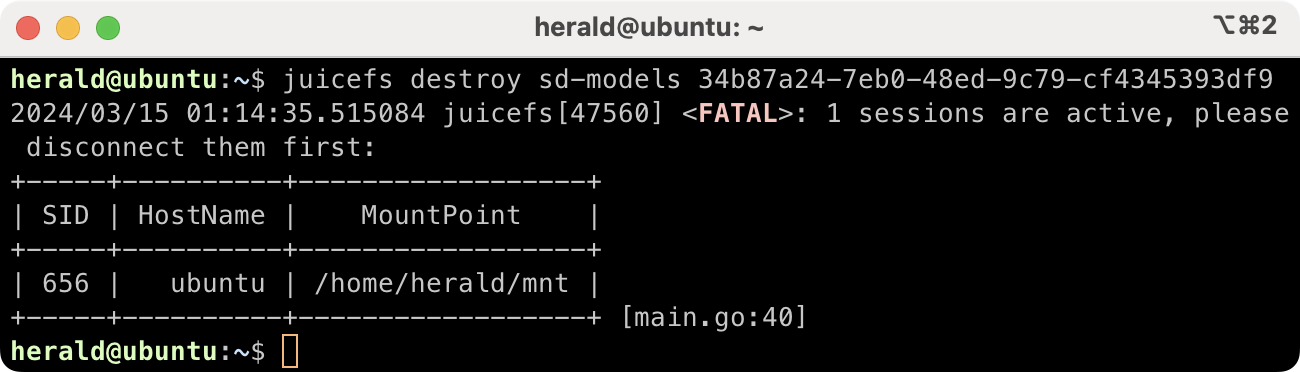
Before destroying a file system, all its clients must be unmounted. If any client is still using the file system, an error message will appear:
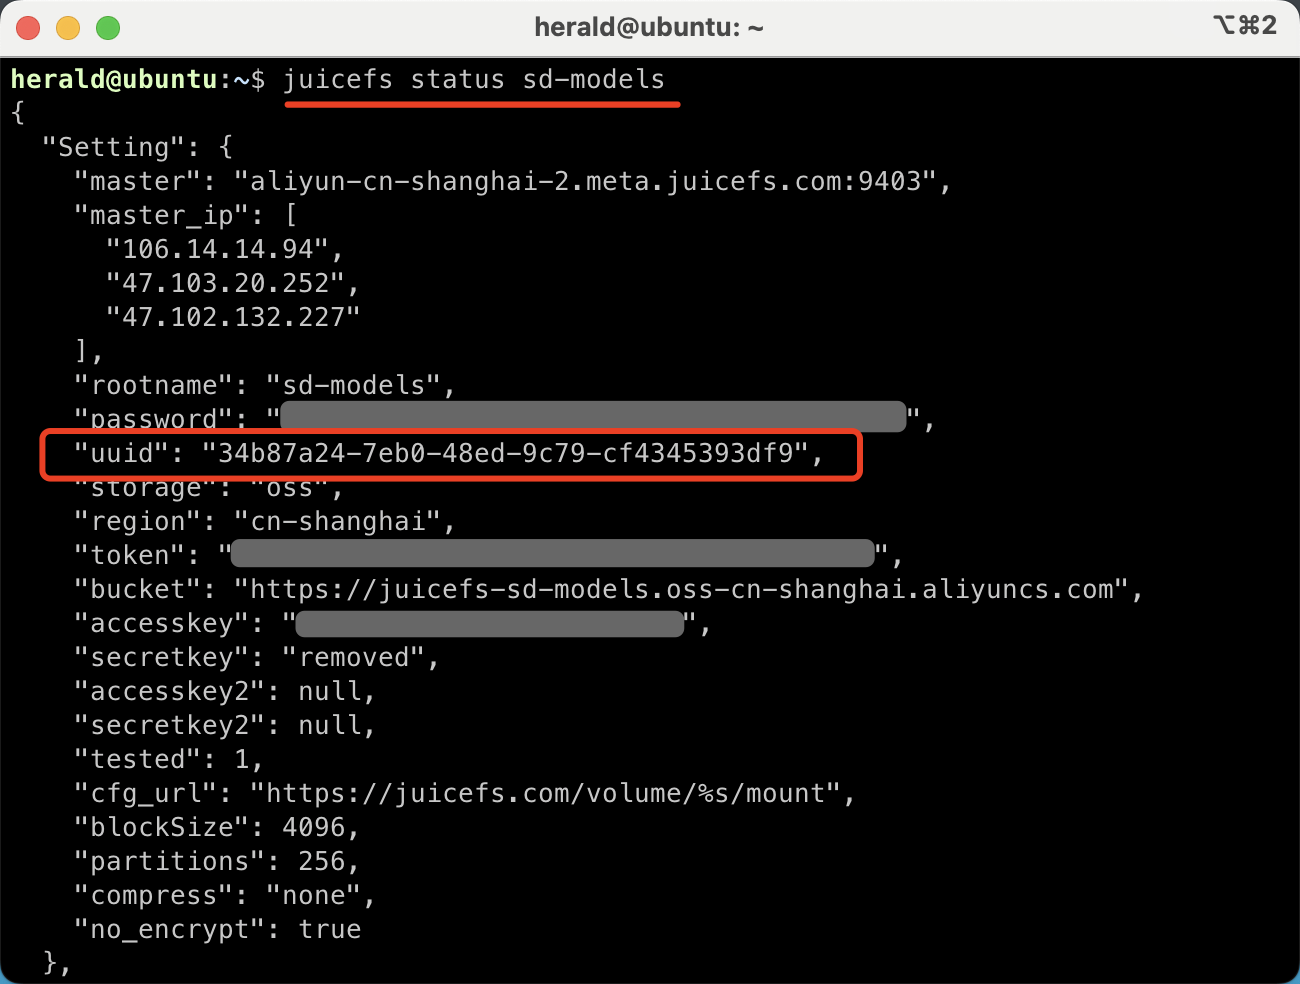
After all clients are gone, run the juicefs destroy command to purge all data in the file system. Before execution, run juicefs status to find the UUID of the file system:
juicefs status <file system name>
Then use the destroy command to purge the file system:
juicefs destroy <file system name> <file system UUID>

After all data in the file system has been deleted, you can click Delete in the Settings tab to actually delete the file system.
Force delete
JuiceFS separates metadata and data, so even if the associating object storage bucket is already deleted, the metadata still remains, and the file system is considered being used, and refuses to be destroyed.
However if due to unexpected situation, e.g. object storage bucket is inaccessible, or you don't have a running server to carry out the relevant steps, you can forcibly remove the file system from our console.
- Remove (umount) all clients until the "Client" page is empty.
- From the JuiceFS Web Console, find the file system and navigate to its "Settings" tab.
- Empty the file system using the "Delete files" button in the page bottom.
- Delete the file system normally.